Project Description
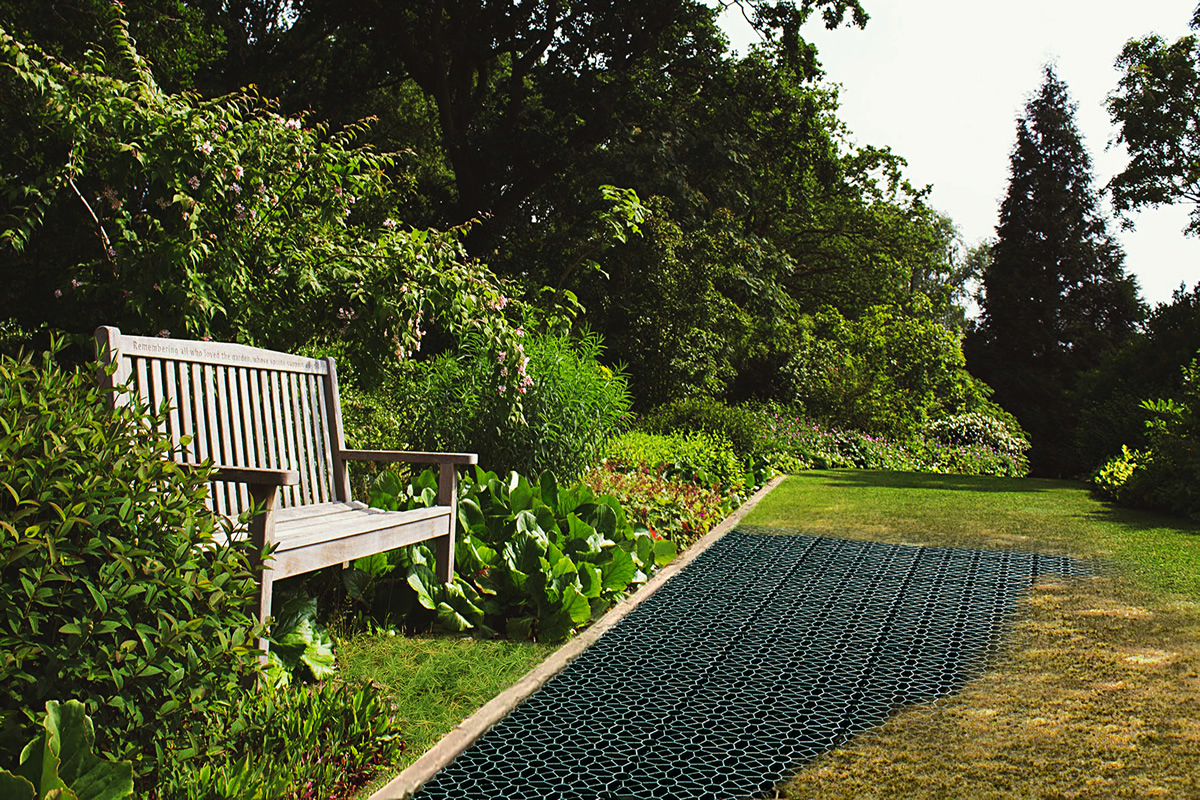
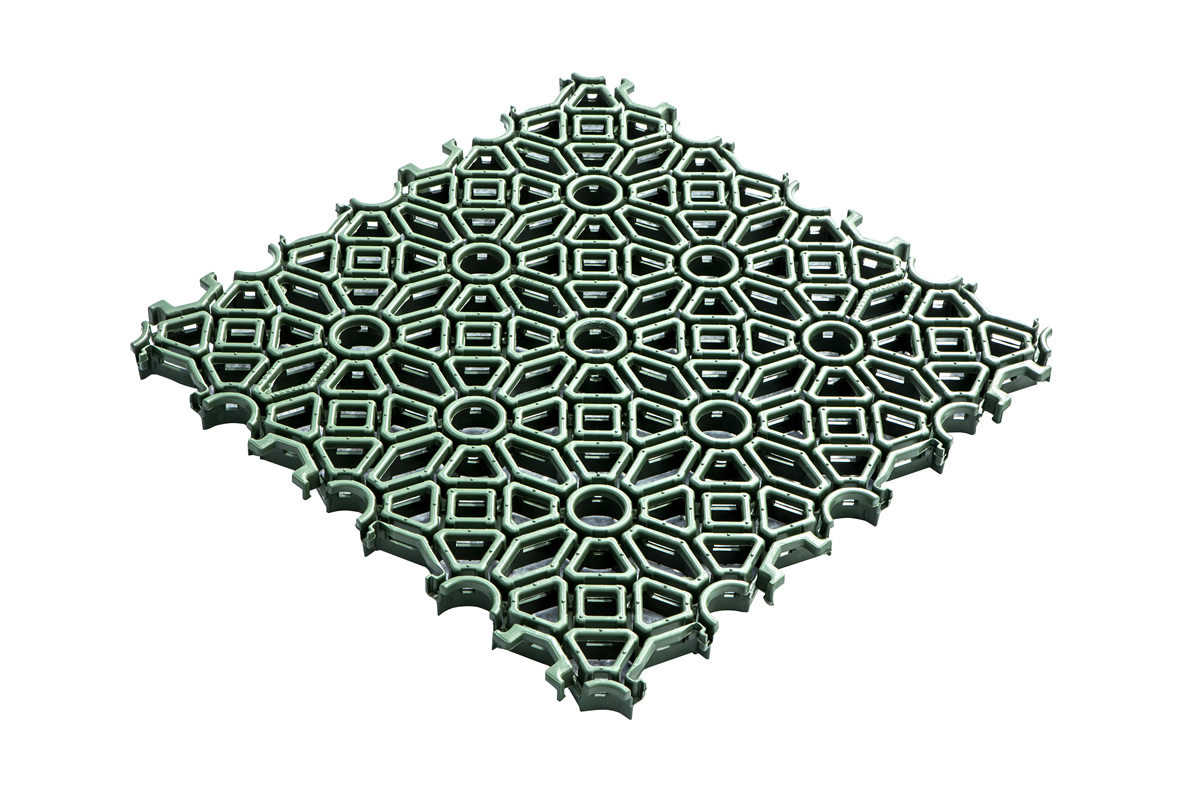
The Garden Grid is a modular grid system made from recyclable HD PE (high density polyethylene) which is used on both new and established lawns, on sand bases or to create a gravel grid for a path.
The Garden Grid has two opposing faces, which perform different functions. When laying the grid with the thinner ribs facing upwards you create drivable area which allows for either lawn or gravel. When the thinner ribs facing down this is recommended where you have existing turf or sand beds. The Garden Grid is light which makes it easy to lay and move. An unskilled worker can install or remove about 120 m2 / hour.
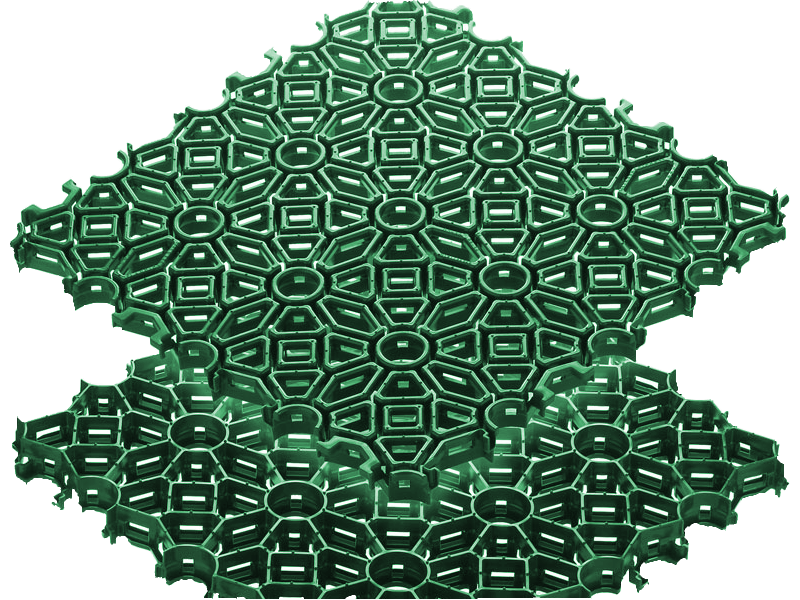
The Garden Grid is unique in that when laid with the thin ribs facing upwards the garden grid has a series of channels within it, which holds water and assists with water conservation. The grid is able to reserve up to 1.5 l/m2 water. By doubling the grid above each other, you can double the water storage and increase the layer of soil up to 6 cm. In this way irrigation costs are reduced, saving both time and money and the vegetation root system have greater access to water.
The Garden Grid has a series of openings (up to a maximum of 27 x 15 mm) specifically designed to allow the roots to spread better horizontally and around the garden grid. The water channels also ensures the water does not stagnate and this ensures a gradual distribution of water and encouraging homogeneous growth of the lawn.
The Garden Grid maintains the draining properties of the soil unaltered (over 90%), making the surface practicable in all seasons and in all climatic conditions, thus avoiding the formation of mud and keeping the surface always dry.
The holding rings accessories can also be used to delineate areas (sign plugs) or to make the grids lines for a cark park.
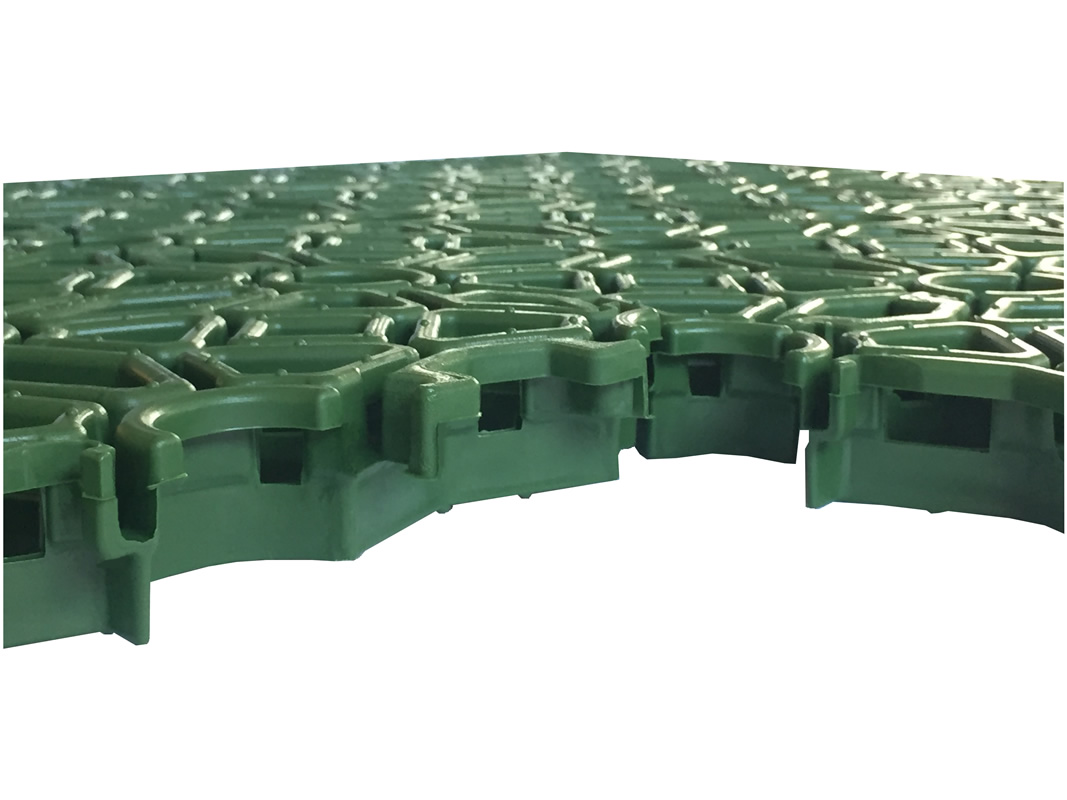
Thanks to its holding and locking system, each grid can be locked to each other. This secures the grid and prevents movement under the wheels of a vehicle. The grid can be used for temporary surfaces such as exhibitions festivals and temporary car parks. After its temporary use the grid can be removed and repositioned at another location. It several times in the course of its life.
When key obstacles need to be avoided the individual pieces can be cut to size using a disc grinder / cutter and still be connected to , the whole pieces, avoiding product waste.
The Garden Grid has been certified to a load capacity of 187 Ton/m2. It can withstand heavy vehicles including fully loaded trucks and firefighting trucks. By combining the unique structure of the grid elements, which is made up of several different geometric shapes with the “λ” shape, the grid has obtained an exceptional load capacity and a good level of elasticity.
ACCESSORIES OF GRID


The Garden Grid has an anti-slip surface, on both sides, that allows the installation of the Grid to create walkways of all kinds.


- Prepare a well- levelled, rolled and compacted rubble base, suitable for vehicular traffic. Dependent on your soil type this may vary in depth;
- Over the rubble base spread a layer of fine sand, like the consistency of concrete sand well leveled to a depth of 3 cm as the bedding layer for the Garden Grid;
- Lay the Garden Grid with the thinnest ribs facing upwards. At this stage ensure that a gap of 2 cm is left near hard surfaces such as curbs and gutters etc. For larger surface areas also leave an expansion joint of approximately 2 cm every 10 m of Garden Grid. For inclined surfaces (over 15%) it is advisable to anchor the Garden Grid with galvanized steel U-shaped pegs about 20 cm long. The pegs are to be ribbed to ensure they secure to the ground. Install pegs per Grid as required;
- Fill the cells of Garden Grid with soil, peat, etc.;
- Sow and water regularly. Do not park or drive over the grill until the lawn roots have become established within the garden grid.


- Prepare a well- levelled, rolled and compacted rubble base, suitable for vehicular traffic. Dependent on your soil type this may vary in depth;
- Over the rubble base spread a layer of fine sand, like the consistency of concrete sand well leveled to a depth of 3 cm as the bedding layer for the Garden Grid;
- Lay the Garden Grid with the thinnest ribs facing upwards. At this stage ensure that a gap of 2 cm is left near hard surfaces such as curbs and gutters etc. For larger surface areas also leave an expansion joint of approximately 2 cm every 10 m of Garden Grid. For inclined surfaces (over 15%) it is advisable to anchor the Garden Grid with galvanized steel U-shaped pegs about 20 cm long. The pegs are to be ribbed to ensure they secure to the ground. Install pegs per Grid as required;
- Insert the Garden Grid locking rings;
- Apply another layer of fine sand over the Garden Grid to a depth of about 2 cm and wet it several times to compact. This will prevent the loose gravel in getting under the garden grid;
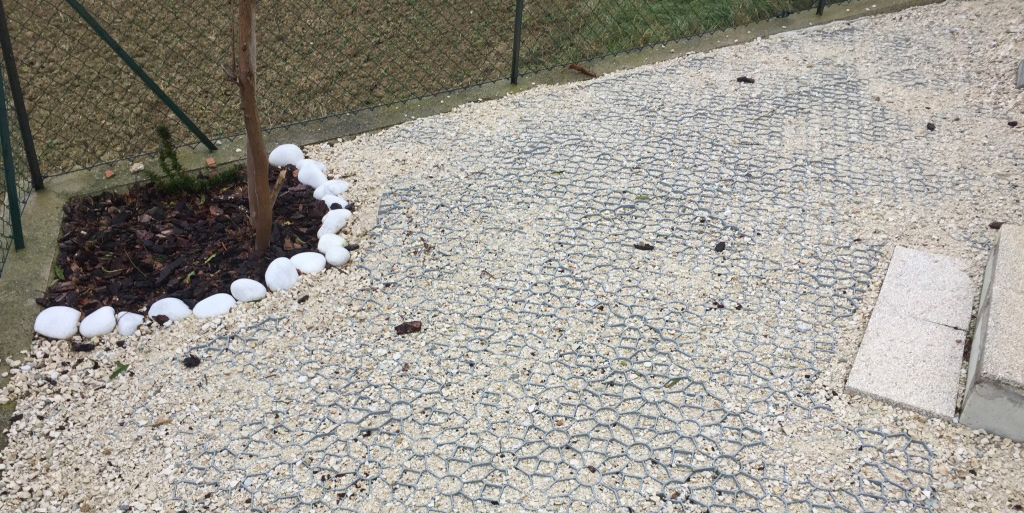
- Fill the remaining space of the Garden Grid with approximately 2 cm of gravel, remaining below the edge of the Garden Grid. The gravel should be at least 10 mm in diameter and not smaller.


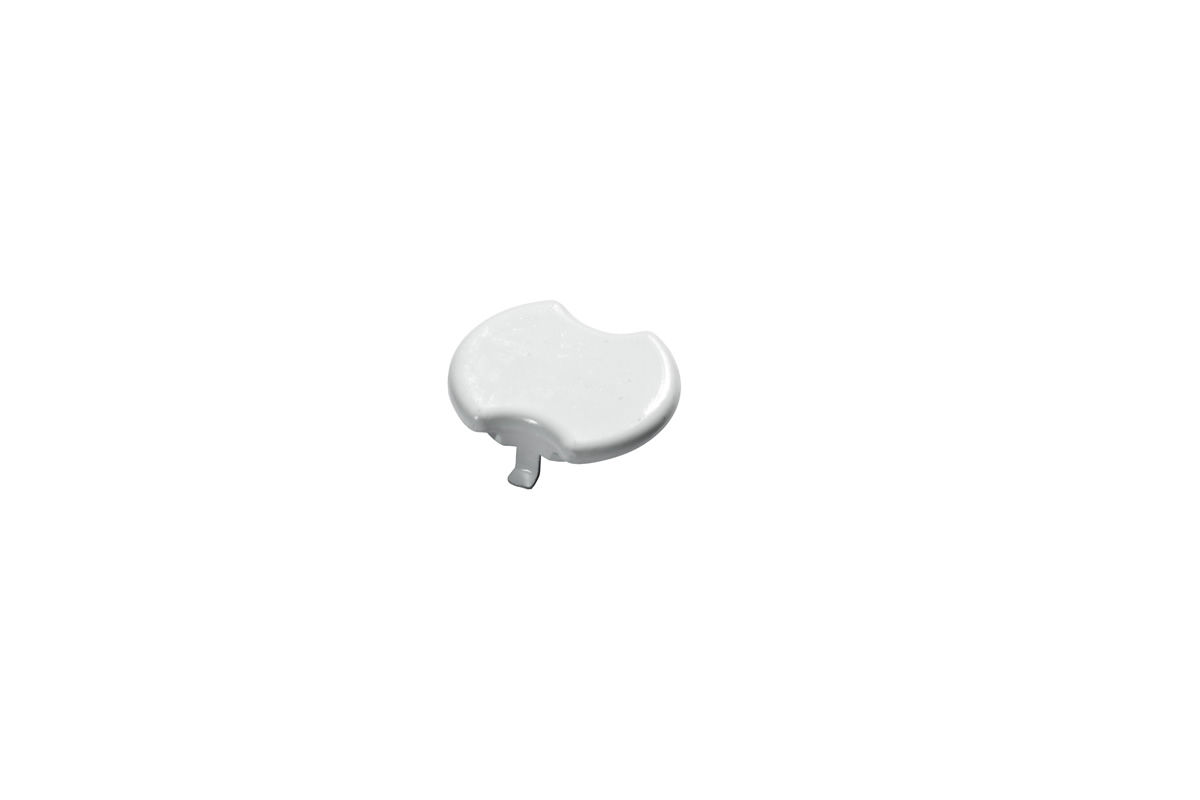
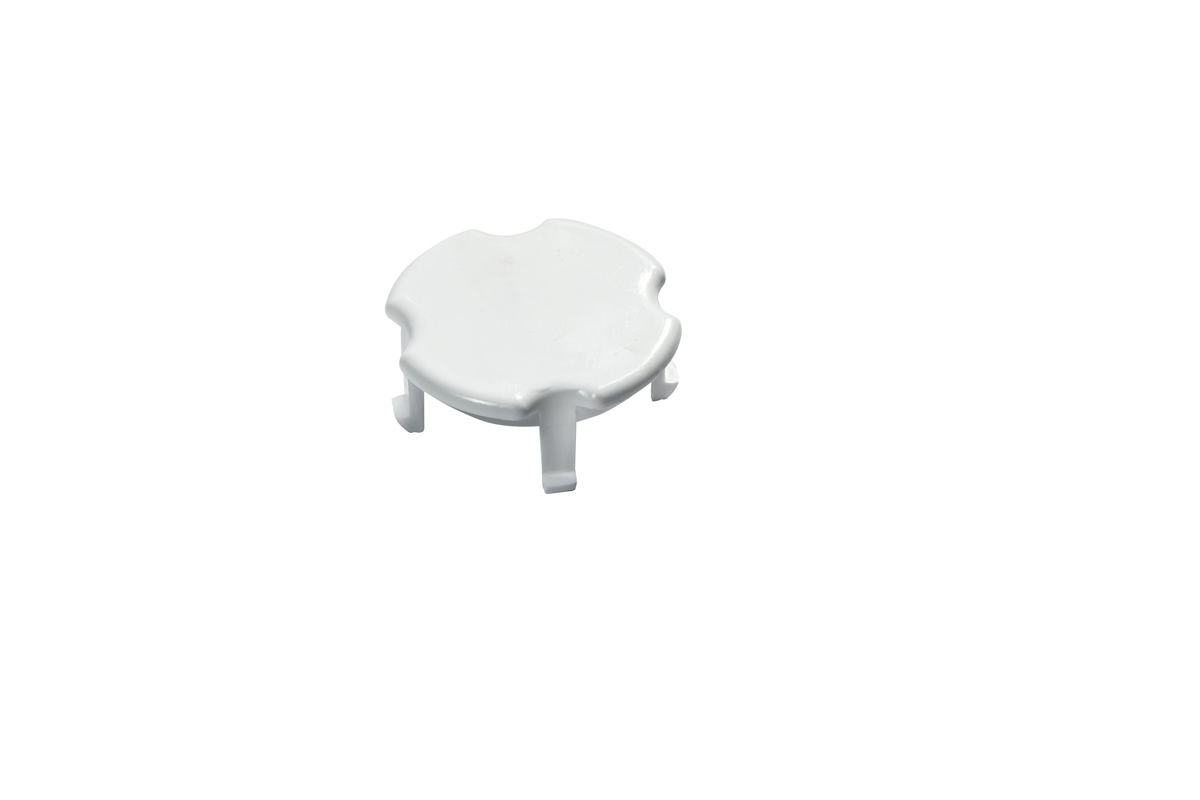 MARCHER PLUG to delineate the parking areas
White color available
Blue and Yellow color on request
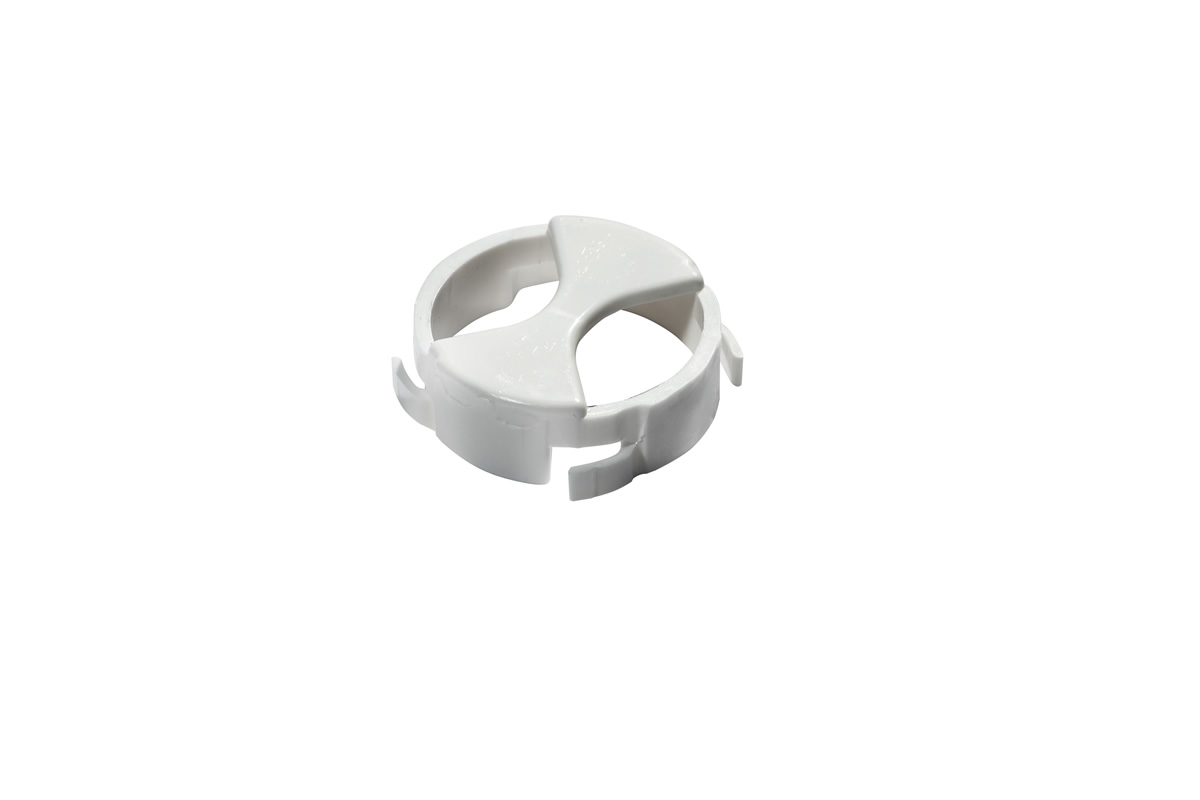
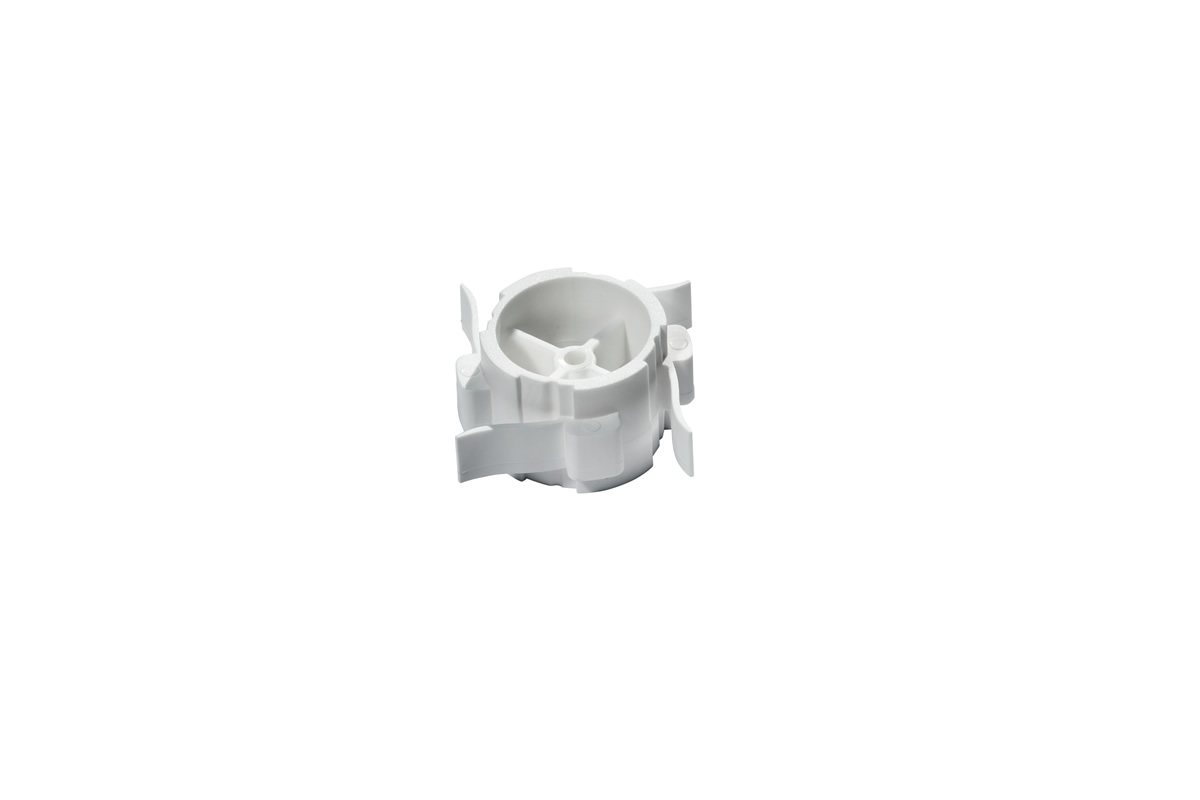 LOCKING RING insert the ring in the junction of 2 or 4pieces of grid with pliers, until the wings are inserted into the appropriate slots.
Use the pliers to remove the ring.
White color available


- Lay the Garden Grid with the thinnest ribs facing downwards;
- Insert the Garden Grid locking rings;
- It is now functional and ready for use.
MARCHER PLUG to delineate the parking areas
White color available
Blue and Yellow color on request
LOCKING RING insert the ring into the junction of 2 or 4 pieces of grid so that the fins are positioned above the slots of the grid below. Tighten the fins with your fingers and insert the ring into the appropriate seat. Insert the flaps inside the buttonholes and hear the “click”. To remove it, turn it counter-clockwise with the pliers.
White and green color available
Grey color on request


Example of assembly diagram of the locking rings
Install the locking rings on the first joint of all the pieces of the perimeter and on all the 4 piece joints.


ASK FOR A FREE QUOTATION


Garden Grid can be placed on the Roof Garden. In the realizations with the Garden Grid it’s possible to lay the nonwoven fabric Geotextile.
The images and features shown in this publication are not binding.
Plastics 3F srl reserves the right to make changes to the products without any prior notice.
Follow us on our Facebook page.